Pages

My New Toy-Cricut Mini

I have a new toy!
It is a Cricut Mini!
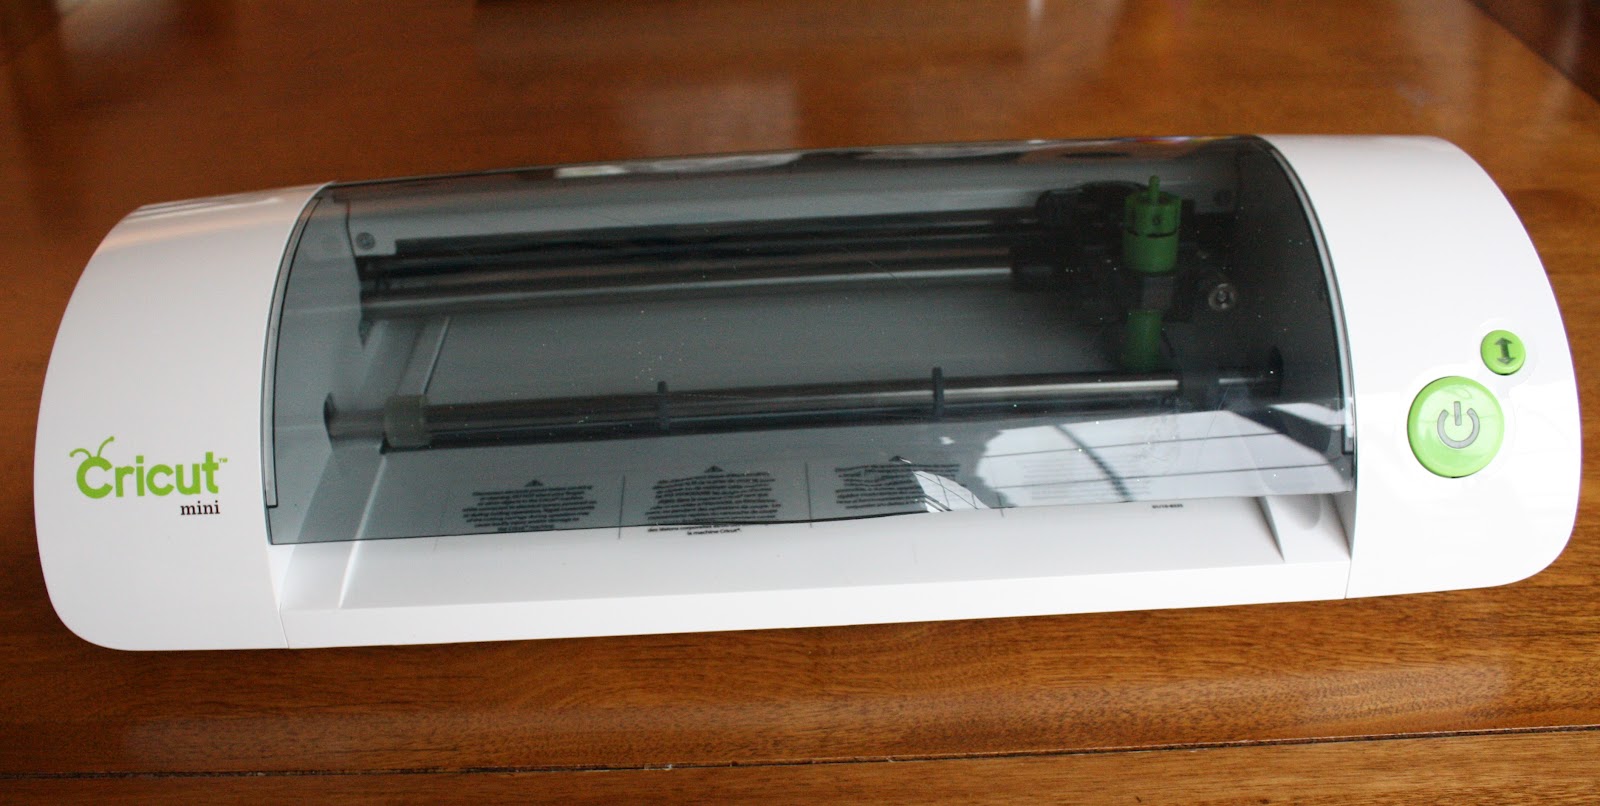
love the size of it and the fact that it has so many uses!  It is small and portable and can sit right next to me on the table when completing my projects!  It can cut 8.5 X 11 pieces of cardstock, vinyl, thin plastics, fancy paper, and more!  I also learned that the blade is interchangeable with gel pens, markers, and a scoring tip!   

My Cricut Mini came with a step-by step guide to help me get started.  I first downloaded Cricut Craftroom software.  
This software is easy to use and allows you to view all of the images available in the Cricut library!  You can drag, resize, and move the images you want right on the screen.  Once you are happy with the placement, you then put the material you want cut onto the mat and then press the "cut" button and the Cricut Mini takes care of the rest!

 The machine came with the images and materials to complete my first project:
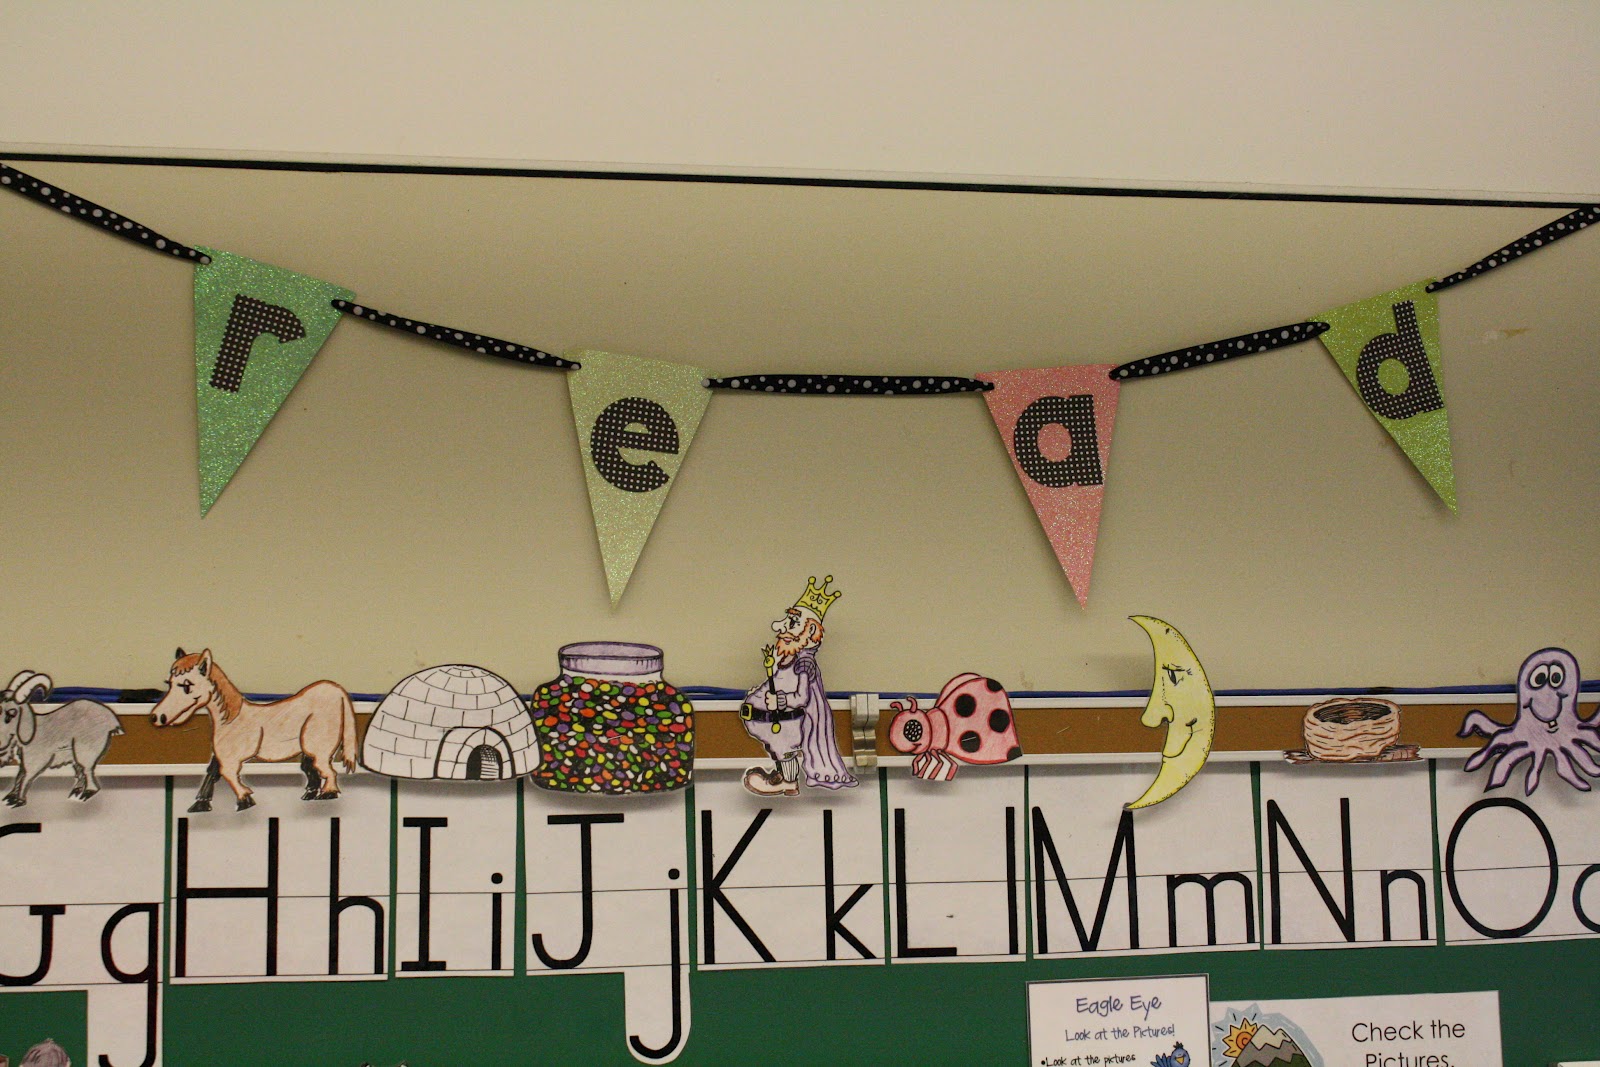
Then using the Cricut Font and Basic Shapes cartridge included with the machine I made the made the following banner for my classroom
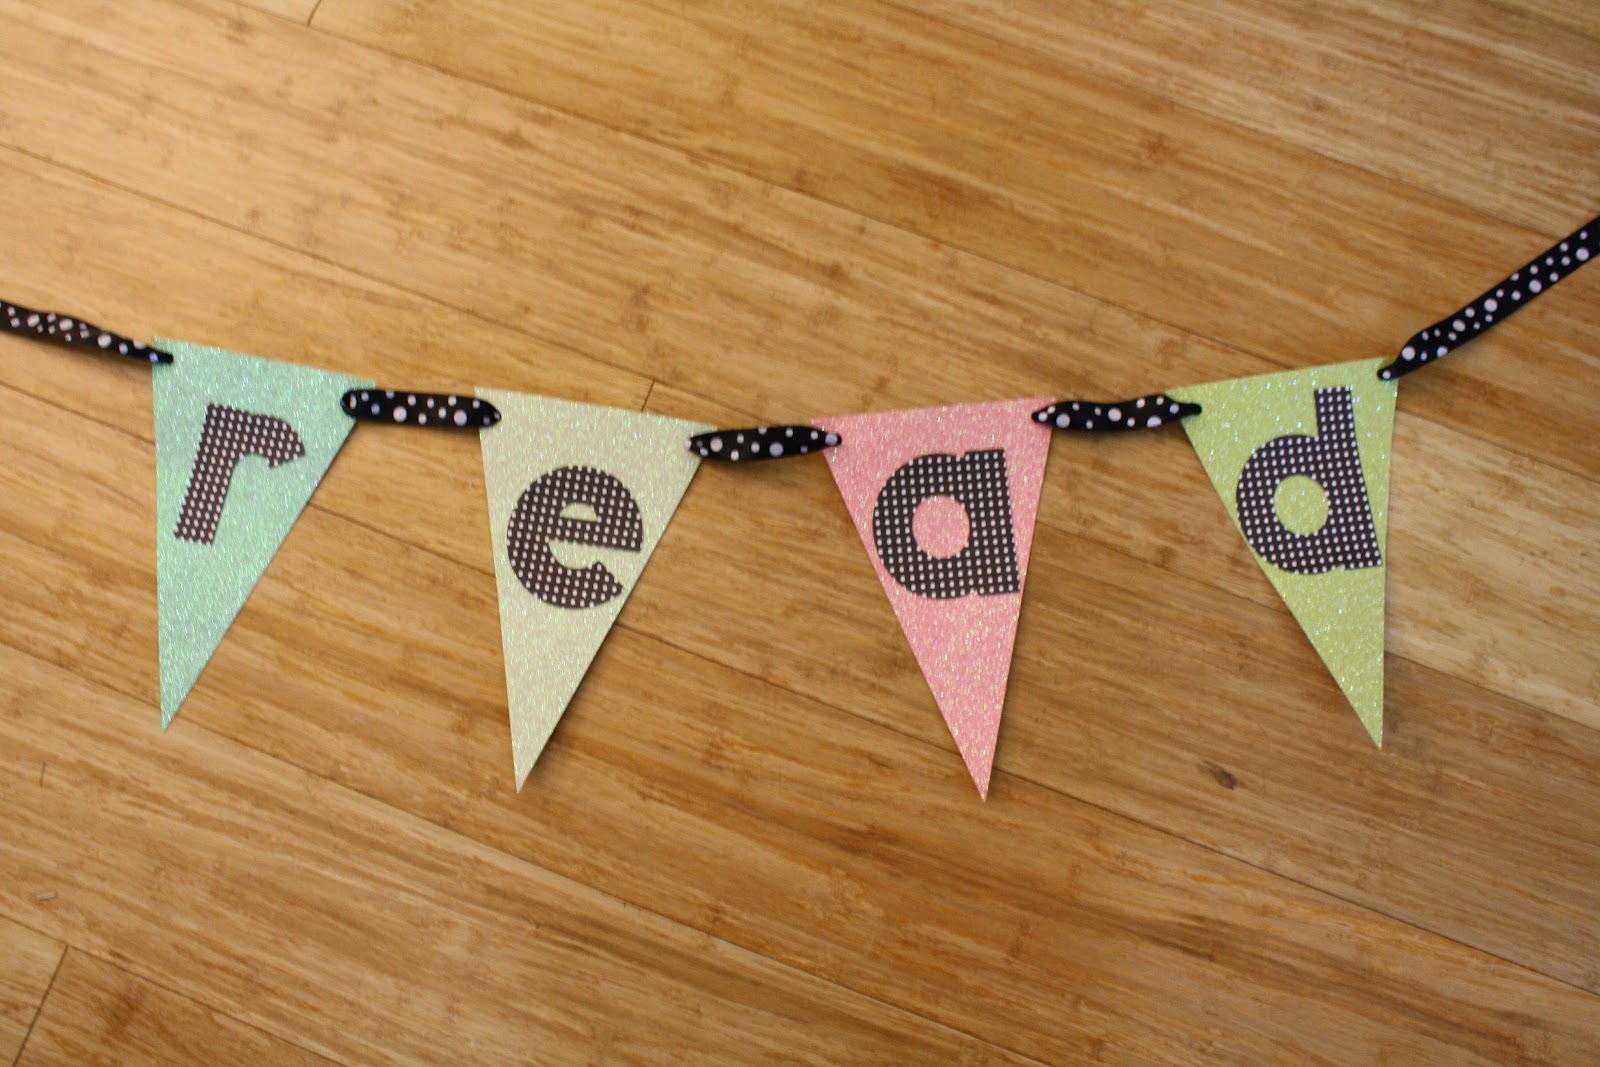
Here it is hanging in my classroom:
Their website has quite a comprehensive Project Center. You can find inspirations for new projects and directions on how to complete them with your own machine.  There are several different categories that include celebrations, holidays, school, etc...

I had never used a Cricut machine, but have always wanted to.  So I was thrilled to have the opportunity to give you my honest review of the Cricut Mini!  I can't wait to make more projects with my new toy!

Do you have one?  What have you created with yours?

Words to Live By Right Now-FREEBIE

Hi all!
How is everyone doing?  Things have been a bit stressful in my neck of the woods.  Between SLO assessments, DRA2s, and benchmarking for AIMSweb, I have been doing lots and lots and lots of assessing.  

Without getting into too much detail beyond that, I wanted to share a little quote I came across while on Pinterest.  I fell in love with it because it fits things perfectly right now!
I decided to type it up with some fun fonts that are available for FREE!

One of the fonts was made by my very dear friend Leslie from
called "Leslies Hand".  This is the green and purple text and is my favorite font right now!  Thanks Leslie!

The other font was made by Amanda from
called "Pea Tracy".  This is the pink and turquoise text.
Aren't they great?  I would love to create my own font sometime!

How does this quote fit with your life right now? 
Am I the only one feeling extra stress these days?

It is Fall!!

It is Fall!  The air is crisp in the evenings and the leaves are beginning to change color here in the Northeast.  I am looking forward to the beautiful changes Mother Nature has in store for the season!

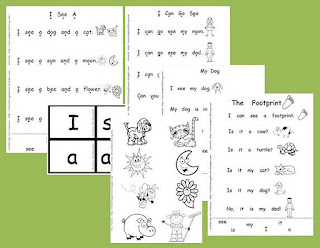
Just for Fall, I wanted to share with you one of my Emergent Student Readers called, "The Colors of Fall"

This Student Reader is a part of my 
Emergent Student Readers Set 1


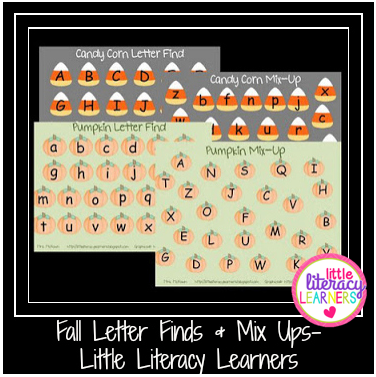
Here are some other products I have available that are perfect for the season to help reinforce early literacy skills for your little literacy learners!

Fall Letter Finds and Mix-Ups


Pumpkin Letter Identification

Open House Night-FREEBIE

Last night we celebrated Open House!  Have you already celebrated yours?

In my school, children come with their families to visit their classrooms and visit different places in the school.  The classroom teachers have the children complete a scavenger hunt with their families to find places like the library, computer lab, cafeteria, and the gym.  Because we like to see the kiddos and their families too, the reading teachers are also placed on the scavenger hunts!  This year we had a few goodies waiting for the kiddos and their families when they stopped by.  

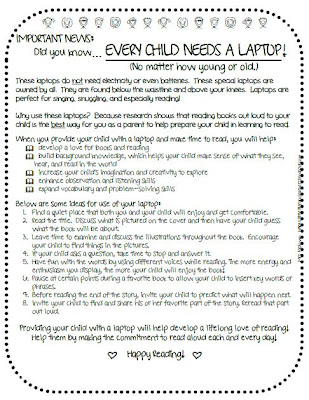
I created this first handout last year about every child needing a laptop.  Do you encourage your parents to provide laptops for their children?  You should!  They are free!  This handout definitely has a cute little twist that the parents enjoy as it discusses the importance of reading aloud to children, right on their own built-in laptop.  
If you missed the post from last year, you can check it out and grab your own copy by clicking on the picture above.

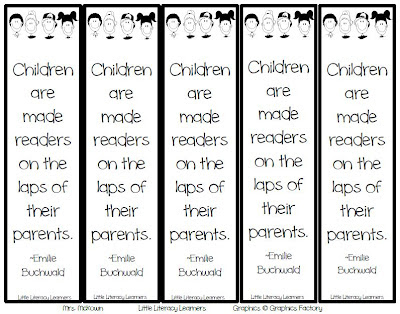
This year I created some bookmarks to go along with the handout, using the quote that I have seen floating around on Pinterest from Emilie Buchwald: 
"Children are made readers in the laps of their parents."  
I just love it and thought it fit perfectly!
We printed these bookmarks on colorful cardstock and the kids enjoyed taking these home.

I realize a lot of you have already celebrated Open House, but I could see these also being provided at parent conferences, literacy nights, etc...  What kind of handouts do you provide for the families of the children you work with?

Before I head off to bed because I am just absolutely exhausted, I wanted to share my new love with you!  
It is my new ruffle purse!
Isn't it adorable!!  I love, love, love the ruffles!!  It is another handmade bag that I found on Etsy from a shop called Gathered and Sown.  Angie was so easy to work with and I just love it so much that I had to share!  
What do you think!?  

And finally, don't forget to head over to TBA to check out the FREEBIES available for Freebie Friday!! 
Freebie Fridays

Making AIMSweb Cute FREEBIE

How many of you are administering AIMSweb?
This is the first year we will be doing it, and since Thursday was the first day of school for our kiddos, we still have yet to start!

But, I really dislike the ugly, boring training binder that our district gave us.  It just isn't the least bit cute, so of course I wanted to make it look a little more appealing! 
So I went ahead and made some binder covers for myself, my colleagues, and am sharing them with you too!
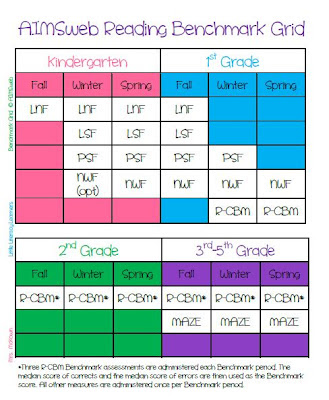
AIMSweb has a wonderful matrix showing their recommendations by each grade level that you can find here.  But because I am a reading teacher, I am only interested in the reading portion of AIMSweb.  So I pulled out all of the math components and created an AIMSweb Reading Benchmark Grid.  Now I can easily see what is needed for each grade level during the benchmarking periods.
I am using the type of binder with the clear sleeves on the outside.  So I am simply sliding the cover into the front and the Reading Benchmark Grid into the back!

Here is my binder!  It just happens to match my bag!  LOL!
  (I have a slight addiction to Chevron right now, can you tell?)
And since so many of you are wondering about my bag, let me add the info for you!  It is a handmade XL Hobo bag from a shop called JanetElizabethLLC, listed on Etsy.  She is so wonderful to work with!  Right now she is catching up on completing some current orders for her Hobo bags, so the links to the hobo bags are not active.  But she thinks she will be all set by the end of this week!  Check her out!

How does your school administer AIMSweb?  Who administers the benchmark assessments?  Do your classroom teachers, reading teachers, or a combination of both?

ABC Mouse

I was excited to be offered the opportunity to explore an educational website called ABCmouse with Paige and be able to share my experience with you! 
ABCmouse was developed by a team of educators especially for children ages 2 through 6.  It is a comprehensive site loaded with learning activities to address reading, math, science, social studies, art, and even music!


You begin by selecting a teacher avatar for your child along with creating an avatar to look just like your child.  
Paige had a lot of fun with this! 


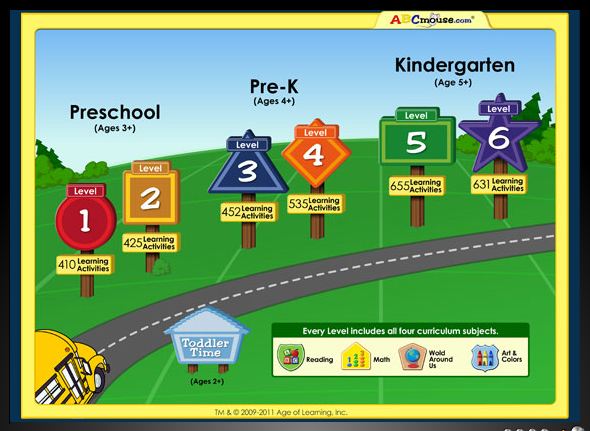
You then go on to choose the Learning Path for your child.  There are six different curriculum levels.  Preschool (levels 1 and 2), Pre-K (levels 3 and 4), and Kindergarten (levels 5 and 6). Each Learning Path provides a series of lessons where the child is guided from one lesson to the next.  They are set in different environments, pine tree forest, mountains, beach, etc... with activities to correspond with each environment.  The activities include books, art, puzzles, games, songs, and even printables.
 
As a parent or teacher, you can also build lessons with specific activities to customize the child's learning through Guided learning.

Paige can also choose the activities she wants to do on the website through Independent learning.  Outside of learning path she can do visit the farm, zoo, classroom, library, etc...  Even if she decides to go off of the Learning Path, each activity on the site has one or more learning objectives.  

Here are some of my favorite points about ABCmouse:
~  It is very easy to use for both adults and children alike.  I especially liked the mouse/pointer tutorial for children who are not familiar with using a mouse.
~  You can set up the account for up to 3 children with a parent account.  
~  You can track the progress of each child individually and create individualized lessons.
~  Creating the avatar that looked just like Paige along with an avatar for her teacher was lots of fun.
~  There is a ticket reward system!  After each activity is completed, the child earns a certain number of tickets.  They can then use these tickets to "shop" for decorations for their room and other things.
~  The child can save their favorite activities to revisit them in the future.
~  There is a Basics area that allows the child to practice their foundational reading and math skills.
~  The activities are fun and engaging.
~  The site is child safe.  There are no ads or links to external sites, providing a safe learning environment!
~  It is okay for the child to explore the site independently, not always sticking to the learning path because each activity on the site has one or more learning objectives.  

When I asked Paige what her favorite thing is about ABCmouse, she said:
"I like to go shopping (with the tickets she has earned) for furniture for my room, fish for my aquarium, and just shopping."
(I think she takes after Mommy here!)

I also learned that for a limited time you can set up a FREE classroom account for up to 40 students if you teach in a public or private school!
Click on the picture below to learn more!

Thank you ABCmouse for this opportunity!

Introducing Letters and Sounds-Mnemonics

This is my third post in a series where I share with you my favorite activities and methods to expose our little literacy learners to the letters of the alphabet.  If you missed my first post about how much I love alphabet charts, you can click here.  If you missed my second post where I discuss using the letters in the child's name, you can click here.  This post will discuss my favorite way to incorporate sounds 
using mnemonics.

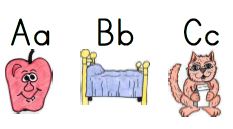
A mnemonic is a device used to aid in remembering something.  When it comes to the alphabet, the mnemonics are the pictures that begin with the sound made by the letter.  These pictures provide the children with a type of connection to the letter sound as they add it to their memory banks.  
For example an "apple" for the letter "Aa", a "bed" for the letter "Bb", and a "cat" for the letter "Cc".
  I feel lucky that our school adopted a set of universal mnemonics that are displayed consistently in every primary classroom.  We have a very talented retired teacher in the district who sat down and drew the pictures to go along with each letter.  I have these mnemonics up on my classroom wall, in an alphabet chart, and on flashcards. As I introduce each letter in my small groups, I reinforce it by saying the letter name, picture, and sound.  
For example, "A, apple, /a/".


There are so many wonderful letter-sound picture cards out there that can serve as mnemonics.  Here are links to two of my absolute favorites.  Each one uses a good, clear primary font and the picture that corresponds with each letter is very simple and unambiguous for children of all backgrounds.

Annie from The Moffatt Girls

Angelia from Extra Special Teaching

A resource that I love to use that incorporates mnemonics is the LeapFrog Letter Factory video.
Have you seen it?  LeapFrog has introduced the letters in a multisensory manner by allowing the child to attach the letter to its sound by a movement or action.  All of the letters are inside the Letter Factory training to make their correct sounds. They are each in their own rooms as Tad the Frog is introduced to them.  For example, all of the "C's" are shivering because they are "C...C...C...cold".

After each letter is introduced, they sing a simple song with a cute little tune that is easily picked up by children:   "The A says /a/.  
The A says /a/. 
Every letter makes a sound.  
The A says /a/."

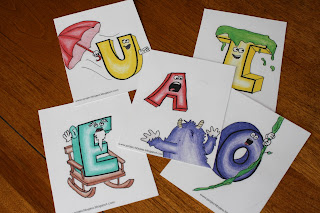
I posted about this little video here when I was first introduced to it.  My daughter loved it!  I also found these awesome printable letter cards to go along with the mnemonics used in the movie on a blog called, Running With Scissors.  These letter cards are drawn by hand, didn't they come out beautiful?
I actually recommend this video to all of my parents to use as an additional tool at home to support their child's letter-sound development.  It is fairly inexpensive and can be purchased almost anywhere!  

What do you do to help your little literacy learners connect the letters of the alphabet with their sounds?

Plinko Anyone?

Have you ever heard of the game Plinko?
(I immediately think of The Price is Right, what about you?)

Well, have you ever thought of combining Plinko and Phonemic Awareness?  I sure hadn't but Lakeshore has!  They created an engaging game to help your little literacy learners develop their ability to isolate initial and final phonemes along with producing rhyming words!  

Their Phonemic Awareness Plinko game is a cute game that sits right on top of a table.  It includes 90 illustrated wooden chips with pictures of single-syllable words.  The players take turns dropping a chip and watching it drop down, bounce off the pegs, and then land into one of three categories:

Say the beginning sound
Say a rhyming word
Say the ending sound

Paige loved playing this game.  In fact, the first thing she wanted to do this morning was play the game!  She loved watching the chip fall down into one of the three slots.  In addition to the saying the beginning or ending sound she also named the letter that produced the sound.
I am always looking for fun ways to engage the children as they practice strengthening their foundational skills and was thrilled to be able to give you my honest review this product.  I would definitely recommend it and look forward to using it with my students!

Introducing Letters and Sounds-Names

This is my second post in a series of posts where I share with you some of my favorite activities and methods to expose our little literacy learners to the letters of the alphabet.  If you missed my first post about how I use alphabet charts, you can click here.  

In addition to using alphabet charts, I also like to reinforce the 
letters in the child's name.  

Many of my kinderkids come to school without the ability to recognize their name, let alone know that their name is comprised of letters.  If this is the case, I begin my instruction with name recognition.  As they improve their ability to recognize their name in print, we move on to learning about the first letter of their name, and then the remaining letters.  We talk about the names of the letters, what they look like, and the sounds they make. 


Here are some activities that I have done to help expose children to the letters in their names  (since I am not in school for two more weeks, my daughter had some fun practicing with her name to show you some of the activities):

~  Use or make tactile letters.  I create tactile letters using glue!  Write or print out the name first and then trace over it using  the glue (regular Elmer's glue is fine).  Then let it sit out overnight and the next day the child is able to feel the letters in their name.  As the child traces over each letter, reinforce the name of the letter.  (Adding sand or glitter may help with texture.)  
Here I printed out Paige's name using a font called, "ABCPrint".  You can download it to most computers for free here.  The top picture was just after I traced the letters with the glue.  The bottom picture shows the glue dry on the following day. 

~  If you have a group of students, you could identify the first letter in their names.  Then use the alphabet chart to put the names in alphabetical order.

~  Talk about and count the number of letters in their name.  If you have a group of children you can compare the length of the names and even graph them.

~  Write the first letter (or any of the letters) on an 8 X 10 piece of paper and have the child use a DO-A-DOT marker to trace over letter.  Ask the child to say the letter name and/or letter sound each time they push down with the DO-A-DOT.
Here Paige is practicing her P, saying, "P, /p/" each time she pushes down and makes a dot.

~  Go through magazines and cut out the letters in their name.

~  Match letter tiles, foam letters, or letters cut from an index card to a visual model of their name (or place the letters in the correct order). 

Because Paige is practicing using the proper case when writing her name, I gave her two sets of letters-an upper case set and a lower case set, using only the letters in her name.  She then had to choose the correct letters and place them in the correct order.  I also had her name the letters of her name in order and again randomly.

~  Sing the letters in their name.  Depending on the length of the name I have used the songs, "BINGO", "Happy Birthday", etc...

~  Find the letters in their name using Scrabble Cheez-Its.  They then eat them (the funnest part of course)!

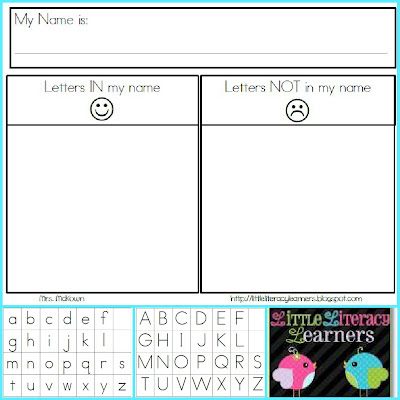
~  Complete a sort: letters in name vs. letters that are not.
Paige used some foam sticky letters that we had.  If you keep scrolling down, you will find a FREEBIE for this activity!  There is a place to write the child's name if he/she needs a visual model.

~  Write the student's name with a highlighter and have the student practice tracing the letters with a pencil to write their name.  If the student is more advanced than this, he/she can rainbow write their name.

~  Use Highway ABC Cards.  Have the child pick out the letters in his/her name and use a car to drive over each letter.
You can find the Highway ABC Cards here.

~ Write letters of name on a paint stirrer (or even an index card) and again on individual clothespins.  The child clips the clothespins to the correct letters to spell their name.

~  Use playdough or bendable wax sticks (like Wikki Stix) to form the letters.

~  Use different writing utensils and materials to practice writing name (paint in bags, chalk, water on chalkboard/concrete, shaving cream, play dough, colored sand, salt trays, etc...). 

Here Paige is practicing forming her letters using some blue finger paint that I added to a Ziploc baggie.  I made sure to remind her NOT to use her fingernail!

All of these activities can be differentiated depending on the child's exposure to the alphabet.  For example, some children need to view a visual model of their name, other children are ready to do it without the visual model.  Some of the children are ready to form the letters, other children need to continue to identify the letters.  Each activity is geared to providing the child with multiple exposures to practice naming the letters.  Throughout each activity I reinforce the name of the letter and sometimes the sound it produces.  

For taking the time to read through this entire post, I wanted to share a FREEBIE with you!  If you click on the picture below, you can download the Letters In Name sorting sheet for free through my Teachers Notebook shop.  I also included some letter tiles to use with it. 


Thanks for bearing with me through this long post.  I would love to hear how you use the names of the children to reinforce alphabetic skills!

Enjoy!

Back to School Events


There are a lot of things happening over at Teachers Notebook that you don't want to miss!  Starting today through August 13th, Teachers Notebook is having their Back to School Bonanza Sale!


I have listed all of my products 50% off!!  Click on the picture to the right to head over to my shop!


Another exciting happening is the Back to School Teaching Expo.  It is coming on August 25th!  This is a fabulous way to earn some professional development hours at your own leisure, while sitting back in your own home!  (Once you view the presentations you are able to print out a certificate of completion to present to your school!)   


Right now, if you donate $10 you will receive a FREE ticket for yourself and that donation will also send 2 other teachers to the expo for free! 


This $10 donation, is half the regular price of a single ticket!  So you will be saving money, getting a ticket for yourself, and helping out two other teachers in the process!  How awesome is that!?

There are some great authors set to present.  In fact, my best bloggy friend will be presenting and I am super excited to see her presentation on Reading Success!

Will I see you there?